一、部署步骤
1、将安装包上传到Linux服务器上(目录随意),然后解压缩
2、进入到解压后的目录下,分别执行以下命令安装四个包(严格按照顺序执行)


rpm -ivh mysql-community-common-5.7.28-1.el7.x86_64.rpm --force --nodeps

rpm -ivh mysql-community-libs-5.7.28-1.el7.x86_64.rpm --force --nodeps

rpm -ivh mysql-community-client-5.7.28-1.el7.x86_64.rpm --force --nodeps

rpm -ivh mysql-community-server-5.7.28-1.el7.x86_64.rpm --force --nodeps
View Code
注释:ivh安装过程中显示进度,--force强制安装忽略一些报错,--nodeps不考虑依赖
3、使用系统命令启动mysql服务,启动成功后可以查看进程号检查服务是否启动成功


systemlctl start mysqld

ps -ef | grep mysqld
View Code
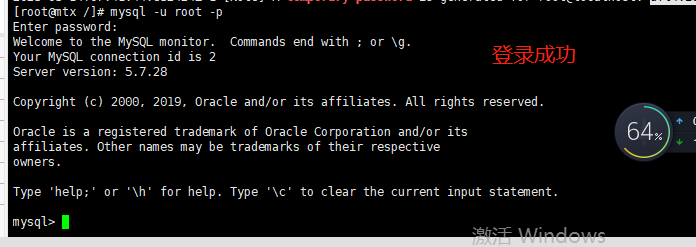
4、登录mysql


mysql -u root -p #-u指定登录用户 -p指定密码,回车后再输入密码,即可完成登录
View Code
5、修改密码(注意密码长度大于 8 位,包含大小写字母+特殊符号+数字),以分号结尾


ALTER USER 'root'@'localhost' IDENTIFIED BY '设置的密码';
View Code
6、设置权限,允许用户远程访问问题咨询-->


GRANT ALL PRIVILEGES ON *.* TO 'root'@'%' IDENTIFIED BY '密码 WITH GRANT OPTION;
View Code
设置权限,允许远端进行访问,*.*,所有的ip地址,可以通过root用户访问所有库所有表。这个设置的权限太大了,实际中是由运维或者dba设置的
7、退出mysql
exit
8、关闭防火墙


systemctl stop firewalld     #临时关闭

systemctl disable firewalld     #永久关闭
View Code
9、使用客户端访问
可以使用Navicat访问部署的mysql服务